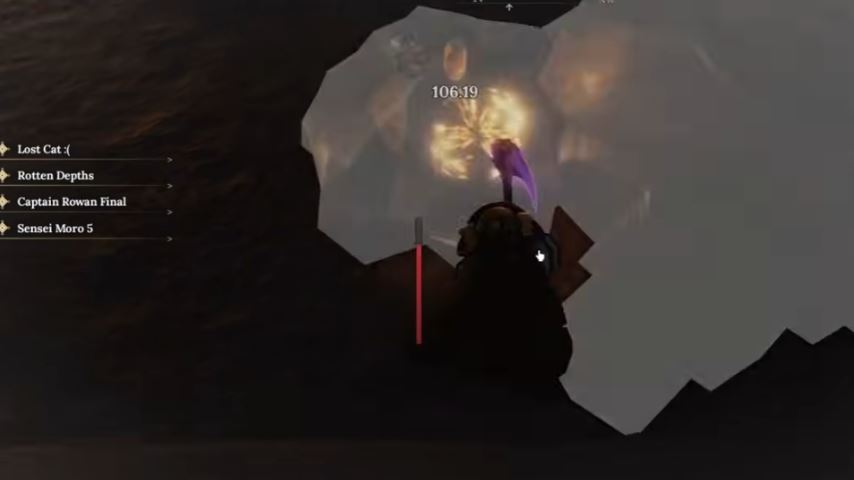
Mining is the lifeblood of progression in The Forge, but not all spots are created equal. Knowing where to mine is just as important as having a good pickaxe. This guide will walk you through the most efficient mining locations, from the high-yield Danger Zone to the strategic points of the Hell Layer, to maximize your Basalt and rare ore collection.
Essential Gear and Buffs for Efficient Mining
Before you head out, your preparation defines your success. Ensure you have the right tools and consumables:
Mythril Pickaxe or Better: This is a non-negotiable requirement. A Mythril Pickaxe is the minimum needed to break through the Basalt Veins that block key routes to the best spots.
The Dwarf Class Advantage: If available, playing as the Dwarf class provides a crucial boost to your Mining Luck, increasing your chances of finding rare ores.
Stack Your Buffs: For maximum efficiency, combine Luck Potions and Miner Potions with placed Luck Totems and Mining Totems. These effects stack, dramatically increasing your mining speed and yield.
#1 Best Spot: The Danger Zone
Primary Target: Basalt Cores & Rare Plus Ores
The Danger Zone is, without a doubt, the premier mining location for dedicated farmers. The area is densely packed with Basalt Cores and Basalt Veins, often clustered so tightly that you can mine two or three nodes at once.
Why it’s the best:
Unmatched Density: The concentration of high-value nodes is the highest in the game here.
Buff Synergy: This is the ideal place to use your Luck and Mining Totems. The dense nodes allow you to maximize the duration of these temporary buffs, yielding a massive return on investment.
Best for Rare Ores: With all buffs active, this spot provides the highest probability of obtaining rare plus ores.
How to get there: From the main spawn point, use the cannon located near the entrance to launch yourself directly into the Danger Zone.
#2 Safe & Consistent Spot: Left-Side Area
Primary Target: Basalt Nodes (Stable Farming)
For players with a weaker pickaxe or those who prefer a less intense farming session, the area to the left of the main entrance is a perfect choice.
Why it’s a great alternative:
Safety and Consistency: This path features a long, close-knit line of Basalt Nodes with minimal environmental threats.
Accessible Route: It leads to a dedicated, dense mining area without requiring you to navigate the more perilous Danger Zone.
Totem-Friendly: You can still place your totems here for a significant boost, making it an excellent spot for steady, reliable farming.
#3 Quick & Efficient Spot: Hell Layer Entrance
Primary Target: Double Basalt Veins
Just inside the entrance to the Hell Layer, you can find a highly efficient spot featuring two Basalt Veins that spawn right next to each other.
Why it’s efficient:
Speed Farming: You can mine both veins extremely quickly, making it ideal for a short, productive run.
Low Commitment: It doesn’t require a deep foray into dangerous territory.
The Drawback:
High Traffic: This is a popular spot, so it’s often already mined out. Your success here depends on finding it unoccupied.
Spot to Avoid: Deep Hell Layer
Verdict: Generally Not Recommended
While the deepest parts of the Hell Layer do contain some Basalt Nodes, the risks heavily outweigh the rewards.
Why to avoid it:
Low Node Density: The nodes are spread far apart, making for inefficient farming.
Extreme Danger: The area is patrolled by Reapers, which are among the strongest enemies in The Forge. They pose a significant threat that can interrupt your mining and get you killed.
Niche Use: Only venture here if you are specifically hunting for a node that didn’t spawn elsewhere and you are equipped with top-tier gear to handle the threats.
FAQ
Q: What is the single most important item for mining in The Forge?
A: The Mythril Pickaxe. Without it, you cannot break the Basalt Veins that block access to the most profitable routes in the Danger Zone and other key areas.
Q: Do Luck Potions stack with Luck Totems?
A: Yes. You can and should combine Luck Potions, Miner Potions, Luck Totems, and Mining Totems for a cumulative effect that drastically improves your mining speed and yield.
Q: Is the Danger Zone worth the risk?
A: Absolutely. For players equipped with a Mythril Pickaxe and the right buffs, the Danger Zone offers the highest density of Basalt Cores and the best chance for rare plus ores, making it the most efficient spot overall.
Q: What is the best spot for a beginner?
A: The Left-Side Area is the safest and most consistent spot for players with a weaker pickaxe, offering a reliable path of Basalt Nodes without the high pressure of the Danger Zone.
Conclusion
Choosing the right mining spot in The Forge depends on your gear, your goals, and your preferred playstyle.
For maximum efficiency and rare ores, the Danger Zone is unbeatable.
For safe and stable farming, the Left-Side Area is your best bet.
For a quick in-and-out run, check the Hell Layer Entrance for its double veins.
Avoid the Deep Hell Layer unless you are fully prepared for a fight.
By gearing up correctly and targeting the right location, you can turn your mining sessions into a highly productive endeavor. Happy mining
