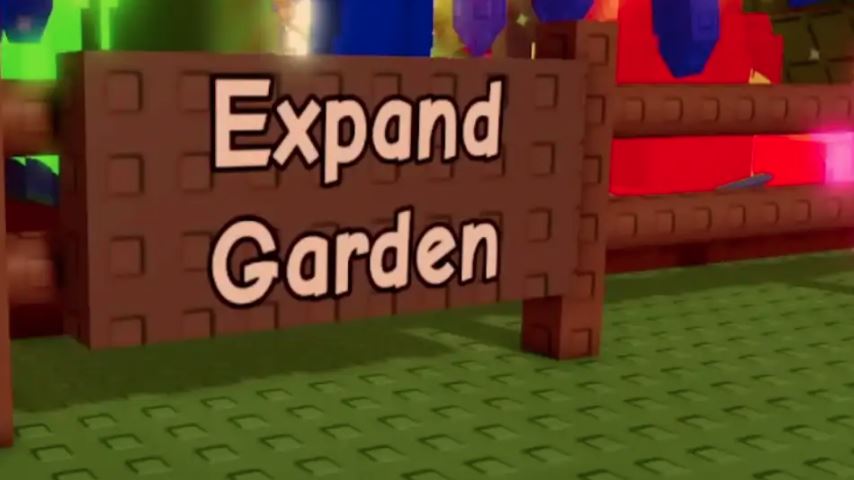
In Grow a Garden, expanding your plot is one of the most significant milestones you can reach as a player.
It allows you to plant more crops, display more cosmetics, and improve your passive income potential dramatically. But not all expansions are created equal, and understanding which upgrade to prioritize can save you billions of Sheckles.
This guide walks you through how the garden expansion system works, what each upgrade costs, and how to build a smart progression path—without wasting resources or relying on Robux.
Plot Expansion Options and Costs
There are four primary expansion options for your garden: left, right, and two back tiers. Each provides different space gains, time requirements, and Sheckle costs.
Expansion Breakdown
| Side | Cost (Sheckles) | Unlock Time | Robux Skip | Space Added |
|---|---|---|---|---|
| Left Side | 250,000,000 | Instant | – | +Width |
| Right Side | 250,000,000 | Instant | – | +Width |
| Back (T1) | 500,000,000 | 1 Day | 199 Robux | +1 Full Plot |
| Back (T2) | 1,000,000,000 | 3 Days | 399 Robux | +0.5 Plot |
Total Cost for Full Expansion
To fully expand your plot with all upgrades: 2,000,000,000 Sheckles
How to Expand Your Garden
Expanding your plot is straightforward, but timing and order matter:
-
Locate the “Expand Garden” sign on the fence border of your current plot.
-
Stand near it and hold [E] to confirm the purchase.
-
For back expansions, wait the specified time or choose to skip with Robux.
-
Left and right expansions take effect instantly with no wait or premium currency needed.
Best Upgrade Order (Sheckle Efficiency Strategy)
Step 1: Expand Left and Right First
-
Cost-effective: Each side costs 250 million Sheckles
-
Instant gain: No waiting time or Robux needed
-
Benefit: Adds multiple crop rows and unlocks immediate layout flexibility
Step 2: Back Tier 1 (T1) Expansion
-
Adds a full new plot to the rear of your garden
-
Worth the cost at 500 million due to the significant space gain
-
Cooldown: 1 day or 199 Robux if skipped
Step 3: Back Tier 2 (T2) Expansion
-
Unlocks an additional half plot
-
Cost: 1 billion Sheckles
-
Cooldown: 3 days or 399 Robux
-
Not essential unless you are a completionist or running full-scale farming builds
Is Back Tier 2 Worth It?
In most cases, no—unless you have a surplus of Sheckles and nothing else to spend on.
At double the cost of T1 and only half the space gain, Back Tier 2 is best reserved for endgame players or those looking to maximize their garden cosmetics and layout.
If you are early or mid-game, you’re much better off investing that 1 billion into:
-
High-value seeds
-
Mutation attempts (Twisted or Shocked)
-
Event gear or pets
-
Reinvesting into Sheckle farming builds
Farming Sheckles Efficiently for Expansion
Use Mutation Boosts
-
Twisted and Shocked mutations dramatically increase crop value
-
Stack with Blood Hedgehog for prickly crops (e.g., Cactus, Durian)
Choose High-Yield Crops
-
Focus on Dragonfruit, Moon Blossom, or Venus Fly Trap if unlocked
-
Rotate fast crops like Strawberry when AFK farming
Don’t Rush Robux Skips
-
The wait is manageable, and skipping cooldowns is not necessary if you’re focused on resource efficiency
Before vs After Full Expansion
| Status | Crop Slots Available |
|---|---|
| Original Plot | ~12 |
| Fully Expanded Plot | ~18 (+50% increase) |
More slots mean more mutation chances, more passive income, and greater layout control—whether you’re farming for Sheckles or styling your garden with cosmetics.
Final Thoughts
Expanding your garden in Grow a Garden is a major upgrade that opens new possibilities for farming, event participation, and custom layout design. By prioritizing left and right expansions first and saving for the first back upgrade, you can grow efficiently without wasting resources.
While the full expansion cost might seem steep, the long-term payoff in profit and flexibility is worth it—just be sure to balance your spending between land, pets, and seed strategies.
