In RB World 5, dunking is one of the most powerful and satisfying moves you can pull off on the court. Whether you’re trying to finish strong in traffic or catch a highlight-worthy poster dunk, understanding how to dunk in RB World 5 is essential for consistent scoring. This guide will explain the dunk controls, stat requirements, dunking range, and how to trigger posterize animations effectively.
What You Need to Dunk in RB World 5
Dunking in RB World 5 isn’t just about spamming the shoot button — it’s a stat-dependent mechanic that also relies on spacing, timing, and positioning. Here are the core requirements to perform dunks:
Stat Requirements for Dunking
Driving or Standing Dunk ≥ 75: Guarantees a dunk when inside the correct range
Driving or Standing Dunk between 50–74: Dunk is possible, but not consistent
Driving or Standing Dunk < 50: Rarely triggers a dunk, usually results in a layup
Having a stat of 75 or higher ensures a reliable dunk animation, but keep in mind that this doesn’t increase posterize success — only your dunk consistency.
Dunking Range and Positioning
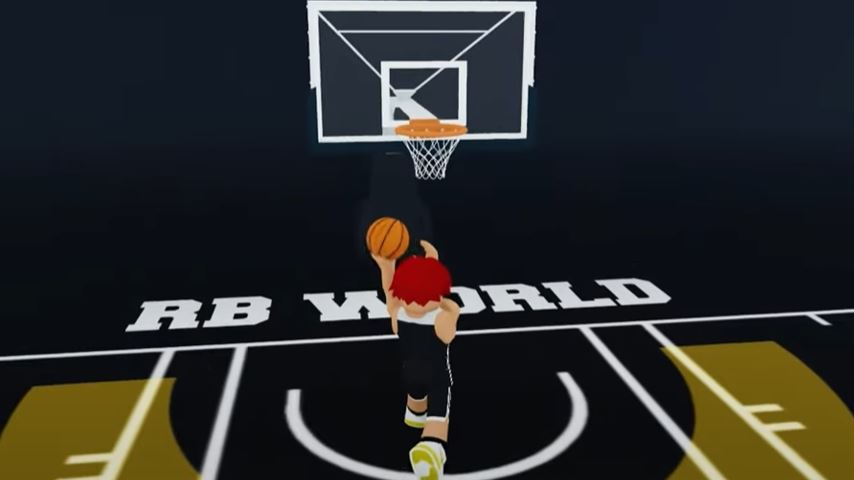
Dunks can only be performed when your player is inside the yellow dunking zone near the basket. This is a visual indicator that you’re in range to trigger a dunk animation.
If you try to dunk outside this area, the game will default to a layup or other finish instead.
Positioning is critical:
Enter the yellow zone before triggering the move
Avoid defenders being too close, especially when attempting a posterize
How to Dunk – Controls and Execution
Dunking in RB World 5 requires using specific key combinations based on the situation:
Driving Dunk (While Moving)
Sprint into the yellow dunk zone using the Shift key
Press the shoot button (Left Click or Spacebar) when inside the range
Your player will attempt a driving dunk if stat requirements are met
Standing Dunk (While Stationary)
Hold Shift to enter dunk stance while standing in the dunk zone
Press the shoot button without moving
Your player will perform a standing dunk
Timing and location matter — pressing the button too early or too far from the zone may trigger a different animation.
How to Posterize Defenders
Posterizing — dunking over a defender — is one of the flashiest plays in the game. But it’s not guaranteed, even if your dunk stat is high. Three factors affect posterize success:
1. Driving Dunk Stat
80 or higher: High consistency for dunk animations
60 or lower: Dunk attempts often fail or convert into layups
However, posterize chance isn’t increased directly by dunk stat alone
2. Spacing and Takeoff Distance
Too close to the defender: Reduces success rate significantly
A slight gap before takeoff increases posterize potential
Proper footwork and awareness can create this spacing during drives
3. Strength Stat
Strength below 60: Often ineffective against big defenders
Strength above 80: Strong chance to overpower and complete a dunk even with contact
This stat can be boosted using:
Attribute upgrades
DFuel consumables
Badges like Enforcer or Posterizer
A perfect posterize setup combines:
Driving Dunk ≥ 80
Strength ≥ 80
Proper takeoff distance from the defender
Without this combination, even high dunk stats may not lead to successful poster animations.
Tips for Dunking Consistently
Here are quick strategies to help you dunk more reliably:
Upgrade Dunk to at least 75: This is the baseline for consistent dunk activation
Practice timing: Get used to when you enter the dunk zone before pressing shoot
Use Sprint when driving: Driving dunks require momentum
Control spacing: Avoid driving straight into a defender — sidestep or cross before takeoff
Boost Strength: Use badges or DFuel if you’re struggling against taller or bulkier players
Observe the yellow zone: Visual awareness of the dunk range is crucial
Final Thoughts
Mastering how to dunk in RB World 5 is all about understanding your stats, spacing, and timing. With a Dunk stat of 75 or higher, proper sprint technique, and smart use of positioning, you’ll be able to finish strong at the rim every time. For those aiming to posterize, don’t forget to boost your Strength, keep distance from defenders at takeoff, and activate badges like Enforcer or Posterizer for that extra edge.
As you build your player, keep refining your timing and spacing. Once those come together, dunking — and posterizing — will become second nature.