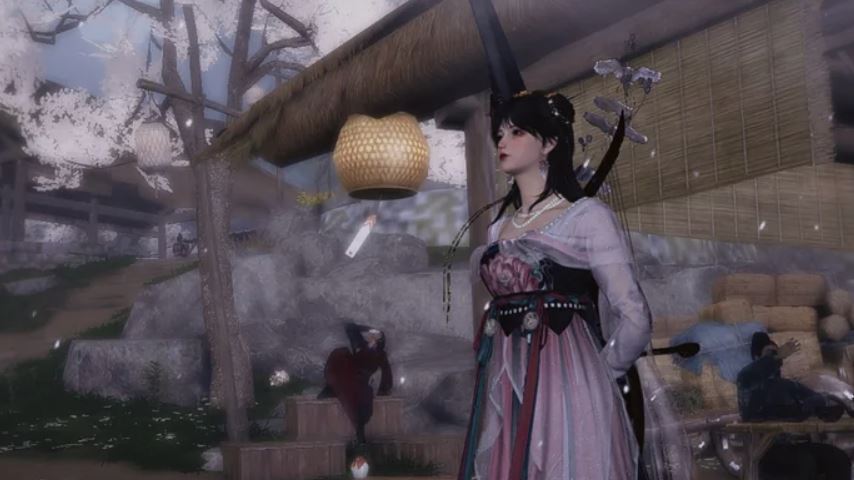
Where Winds Meet isn’t just an action-adventure game; it’s a breathtaking journey through a wuxia-inspired world, and its built-in Photo Mode is the perfect tool to capture its beauty. This powerful feature allows you to freeze time and compose stunning, cinematic shots of your journey. This guide will walk you through how to access it, explain all its settings, and provide tips to elevate your photography.
How to Access Photo Mode
Activating Photo Mode is simple. You can enter it at almost any time during your exploration by pressing the F8 key. Alternatively, you can open the main menu by pressing ESC, then select the camera icon from the sidebar.
Once active, you’ll see a toolbar with four main options:
Album: View all your previously saved photos.
Redo: Undo your most recent changes.
Hide UI: Toggle the Photo Mode interface on and off for a clean view.
Appearance: Change your character’s outfit and weapon on the fly without leaving the mode.
Photo Mode Core Features: Easy vs. Pro Mode
The Photo Mode offers two distinct interfaces to cater to both casual and advanced users.
Easy Mode: Quick & Beautiful Shots
Easy Mode is perfect for players who want great results without deep technical adjustments. It provides a wealth of pre-set options.
Presets & Community Content: Access a library of curated poses, ambience settings, and color filters created by both the developers and the community.
Basic Camera Controls: Adjust fundamental settings like Focal Length, Aperture (for depth of field), Zoom, and Field of View (FOV).
Character Pose: Select from a list of preset poses for your character.
Lighting & Filters: Apply pre-configured lighting setups and color filters to instantly change the mood of your shot.
Simple Toggles: Easily hide UI elements, character info, and adjust soft light.
Pro Mode: Total Creative Control
Pro Mode unlocks the full potential of the Photo Mode, giving you granular control over every aspect of your scene.
Template: Start with a base composition.
Character/Object Management: Add, remove, or switch between your character and NPCs in the frame.
Advanced Pose System: Fine-tune your character’s stance and expression with more precision than Easy Mode.
View Management & Gridlines: Control the character’s gaze and enable rule-of-thirds gridlines for perfect composition.
Camera Settings: Adjust Focal Length, Aperture, and Camera Tilt for dynamic angles.
World Control:
Time & Weather: Manipulate the in-game time of day and cycle through various weather conditions (e.g., clear, rain, fog).
Environmental Wind: Control wind intensity, which affects character hair, clothing, and grass movement for a dynamic feel.
Lighting & Color Grading:
Lighting: Change the direction and angle of the primary light source.
Filters: Apply color tones.
Light Adjustment: Manually control Exposure, Vignette, Soft Light, and Light Overflow (bloom).
Coloration: Adjust the Color Temperature and Tint of the scene.
Detail Level: Control the rendering quality of the background and distant objects to optimize performance or maximize visual fidelity.
Inscription: Add a finishing touch by overlaying text or a variety of the game’s logos onto your photo.
Tips for Cinematic Shots
Use the Rule of Thirds: Enable gridlines in Pro Mode and position your character or key landscape elements along the lines or at their intersections for a balanced composition.
Play with Depth of Field: A low Aperture value (e.g., f/1.8) creates a blurry background (bokeh), making your subject stand out sharply.
Control the Time and Weather: A dramatic shot often needs dramatic weather. Try taking photos during the “golden hour” (sunrise/sunset) or in heavy fog to create atmosphere and mystery.
Utilize Wind and Pose: Combine a dynamic pose with a strong wind setting to make your character’s clothes and hair flow, adding a sense of motion and wuxia elegance to a still image.
Don’t Forget Daily Quests: Check your quest log for daily photo missions. These will guide you to specific, often picturesque locations, providing a great source of inspiration and extra rewards.
FAQ
Q: How do I hide the UI completely for a clean screenshot?
A: Use the “Hide UI” button in the main Photo Mode toolbar. This will remove all menus, allowing you to take a pristine screenshot.
Q: Can I change my character’s clothes in Photo Mode?
A: Yes! Click the “Appearance” button on the toolbar to change your outfit and weapon without exiting the mode.
Q: Where are my saved photos stored?
A: Your photos are saved in the in-game Album. You can access them from the Photo Mode main screen.
Q: What is the difference between Filters and Light Adjustment?
A: Filters are pre-set color looks, while Light Adjustment gives you manual sliders for exposure, vignette, and bloom, allowing for more precise and custom color grading.
Conclusion
The Photo Mode in Where Winds Meet is a deeply integrated and powerful tool that transforms players into virtual photographers. Whether you use the accessible Easy Mode for quick, beautiful captures or dive into the granular controls of Pro Mode to craft a perfect, cinematic moment, the possibilities are vast. By mastering the time of day, weather, poses, and camera settings, you can create a stunning visual diary of your wuxia adventure. So, press F8, start experimenting, and share the breathtaking world you discover.